
We also recorded a video showing you how to implement each of the options outlined below. Hopefully, this will be a great resource to you and your team moving forward!
Why is this happening?
As we said before, auto-cropping is common with WordPress themes because it makes images and content look more standardized and consistent. Divi, our preferred theme, is no exception. The basic way to explain it is this: the theme has a designated spot to put featured images for different content types (portfolio items, blog posts, pages, etc). When you upload a featured image, it pops the photo into that designated spot. If the area is a certain size but the image is too big, the website will make it fit. The best way to adjust the sizing is to zoom in the middle until the image’s width is the right size, then crop off the top and bottom. That’s why you get featured images looking like this:

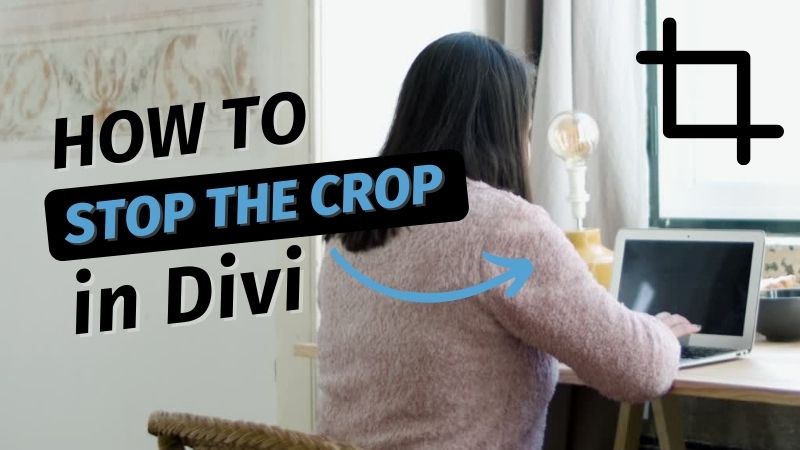
Ways to address featured images auto-cropping
1. Choose an wider image
If your image is getting cropped on the top and bottom, choose an image is wider rather than taller. This is the simplest and easiest option.
2. Change the site settings
Some themes have the ability to hide the featured image on the post itself. This setting is often called “show/hide featured image on single post layout.” By changing that to “hide,” you will no longer have an image showing up at the top of the post. From there, you can choose if you want to add one or leave it off. If you decide to add an image manually, upload the image in its original aspect ratio. We recommended resizing the image to a maximum of 800px wide to keep from bogging down the site with large files. You don’t have to crop, just make the image smaller overall. Then, add the media to the top of the post with the image module.
3. Crop the image
First things first, you will need to find the correct dimensions. We often inspect the element (nerdy option) or open the image in a new tab (slightly less nerdy option) to determine the designated area size. Featured images for Divi blog posts are 1080×625. Now that you have the dimensions, it’s time to crop the image using your favorite photo editing tool. There may be white bars on the sides which can be annoying, but at least the subject is in view!
4. Add custom code
Depending on your theme, it may be possible to add custom code telling the website to stop cropping. This will mean the image (no matter how tall or wide) will show up full size at the top of your post. This is a great option if you use a lot of taller images and do not want to mess with options 1, 2, or 3 moving forward.
This article by Peeaye Creative explains how to do this in Divi, but it requires access to the functions.php file (or a Code Snippets plugin like this one). We highly recommend you work with your designer if going this route.
5. Talk to us
The options we laid out above may be daunting, so feel free to reach out to our team for additional assistance. Whether you want to talk through the workarounds themselves, have us make you a custom tutorial, or just hand off the task altogether, we are here to help. For existing clients, reach out to our support team via phone (503.217.4226) or our handy dandy portal. For new clients, give us a call at 503.602.9074 or email us!